Showing posts with label diy. Show all posts

Tuesday, March 31, 2015

DIY Fluffy Bunny Tail // Our Little Family DIY

today, i'm excited to share another easter tutorial.  these fluffy bunny tails are perfect last minute additions to easter baskets, bunny costumes, or maybe even your easter brunch table setting! 

and did i mention they cost less than $1 to make. #winnerwinner


first, cut a rectangular piece of felt, about 1/2 inch x 1 inch for each pom.  place the piece of felt between the prongs of the alligator clip.  i used hot glue to attach the clip to the pom, mostly because it dries quickly and i'm impatient, but if you prefer a different type of adhesive, i'm sure that would work just fine!


the hardest part of this little project is getting the felt to stick on the fluffy pom.  once you get it on there, you might need to reinforce it near the top and bottom, but it just depends on how floppy your pom is. 

i plan on attaching this to the back of eg's baby jorts. there are also plans for bunny ears. if pinning fluffy bunny tails on my baby girl is wrong, i don't want to be right. 

don't forget to tag #ourlittlefamilydiy in the photos of your cute little bunnies! 
p.s. let's be instagram buddies! :) @sarahgracechastain

bucket and eggs // the dollar tree
craft supplies // hobby lobby

Monday, March 23, 2015

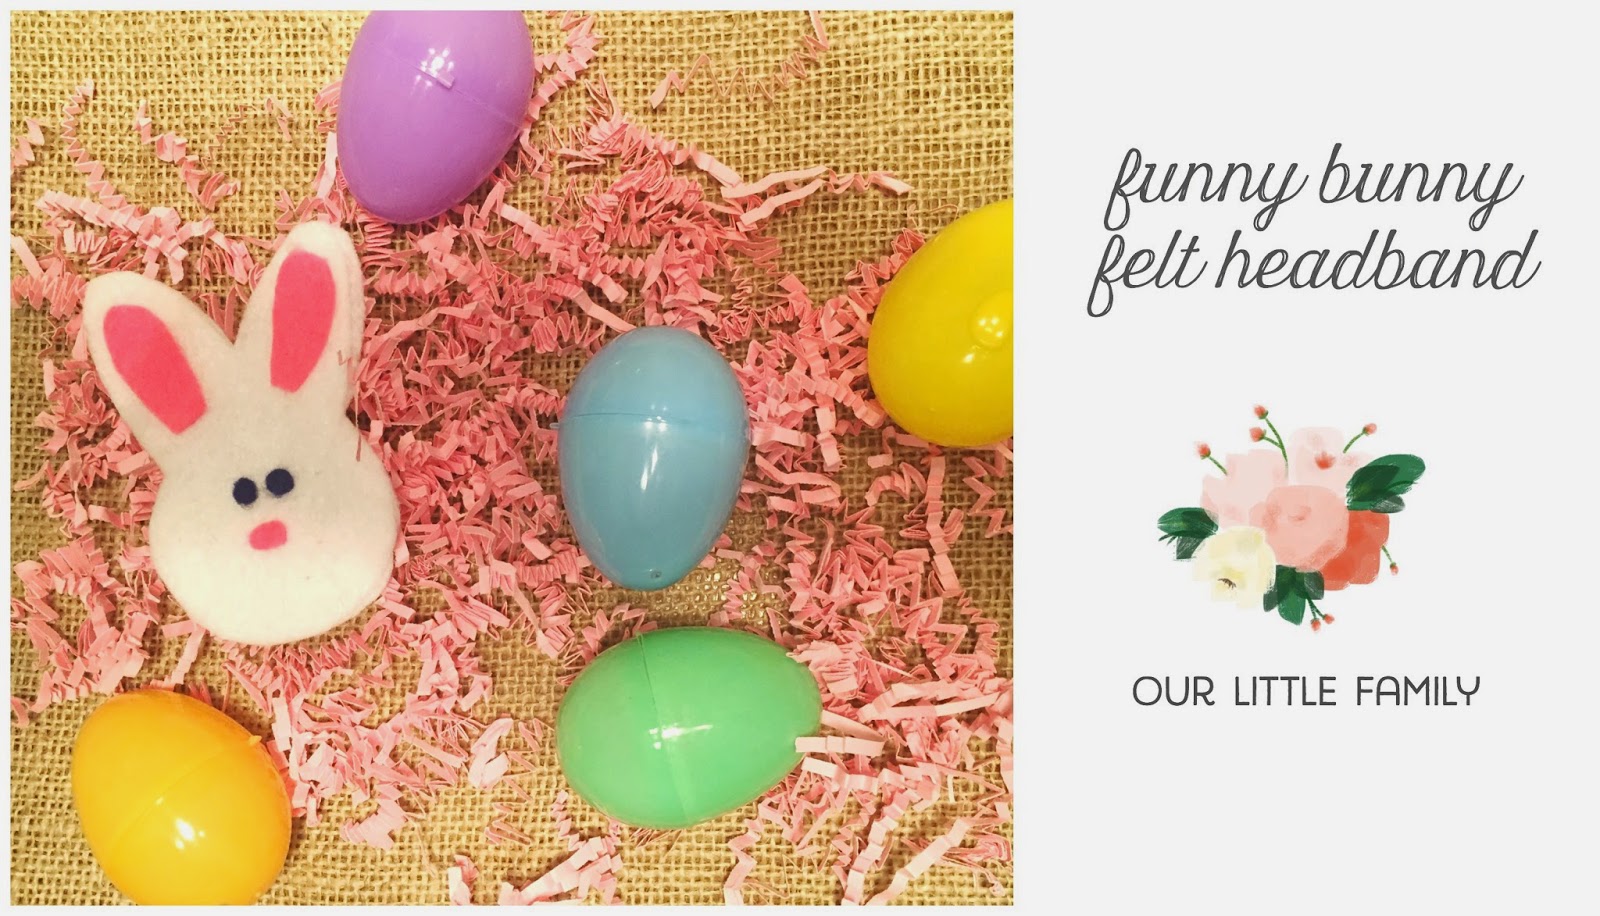
a bunny for my babe // felt headband diy

here it goes,,,,an attempt at a little easter bunny headband tutorial. :)

all for about a $1. can't beat that!


all you need for this little diddy is felt, glue, scissors and an alligator clip!

recently, i've been having a little too much fun with felt.  but is there such a thing? i haven't splurged on the good stuff yet...i stick with the 4/$1 sheets at hobby lobby.  i used white, navy and bright pink. and i'm not sure if hot glue is the best adhesive for this type of project, but it's what i have, and it gets the job done, so winner! :)

all you have to do is cut, glue and then glue some more.  easy right?


click here to download your template and the instructions!

oh, if you're not into DIYs but still want to snag your little one some easter headgear, check out one of these super adorable etsy shops!

gloria miller's creations
la la pop shop
homemade trends

don't forget to tag #ourlittlefamilydiy in the photos of your cute little bunnies!

Tuesday, February 24, 2015

an impulsive coat of paint

a few months back, we found a great kitchen table and chairs at a local garage sale for $35. it wasn't in terrible shape, but i remember selling it to bub-hub as a quick fixer-upper...oops. it only took me five months to get to the fixing part.

on saturday, i was at ace hardware getting a battery and a key chain when i saw the amy howard one step paint display...one step...how do you beat that?  i had been debating the best way to paint the table, and by best, i mean easiest.  after a quick and successful sell from the paint guy at ace hardware, i decided to take the plunge.  i'll work on my impulse shopping in 2016...


what i used:
amy howard at home, one step paint in black
basic paint brushes (available at any hardware store)
an old sheet

what i did:
painted!


it took us about 3 hours....2 1/2 of that was spent on the scrolly details of the chairs. we did one coat on everything except the top of the table, which i went over again just because.  even with the second coat on the table, we only used about 1/4 of the quart.

it dried perfectly in about thirty minutes...not bad at all! she has an optional top coats that you can use for different finishes, but i just love the matte finish.  it's just what i had in mind all along.  simple and sweet.  i usually end every painting project with a very determined declaration of i'm never painting again, but this time, it wasn't so bad! i'm already plotting what else i can paint!


Thursday, February 12, 2015

our valentines day decorations

love is in the air! and on the mantle and the entry way table and all over the house. :)

when i set out looking for valentines decorations, i fully intended on just picking up some paper and cutting out hearts on my own.  and then i got to the store, and went a little crazy.

first, i stumbled upon these fun corrugated hearts from hobby lobby!  instead of cutting out all the hearts on my own, i just taped the die cut hearts onto some twine, pinned it to the mantle, and voila! a $5 valentines mantle in ten minutes! :)


i've had my eye on the teeny tiny mail boxes in the target dollar spot for a while, and i finally took the plunge!   initially, i was excited to use them as "love bug special delivery" boxes, but after getting them home, i realized they are too tiny for any of the cards or gifts i (i mean the love bug...) wanted to share, but they are the perfect size for my mantle, so i consider it $3 well spent. :)

i had decided to try something different for the entry way, and then i found these larger paper mache mailboxes. can you say "meant to be"?!  they are the perfect size for cards and little bags of candy....which i may or may not have already sampled. #sorryimnotsorry i even grabbed a few extras to stash in the closet for any future littles! :)


i can't wait for EG to be big enough to be excited about these silly little things.  for now, i'm just going to pretend that's she's into it. :)

paper mache mailbox // hobby lobby
corrugated hearts // hobby lobby (similar here)
scrap book paper // michael's (available at any craft store)
sweetheart printable // studio calico
pink frame // target (similar here)
mini mail boxes, burlap runner // target dollar spot
gold frames // goodwill

Friday, February 6, 2015

fun with felt // baby girl DIY

i've recently entered the world of baby girl bow mania.
i know...i'm a little late to the game. but i'm making up for lost time.
my new obsession combined with an audit of my craft closet resulted in....valentine felt bows for eg!
i've been getting so many questions about them, i decided to take a stab at a tutorial. #marthawannabe


i'm not a tutorial expert, but here it goes.


what you need:
felt
scissors 
embroidery thread
large-ish needle (that's the technical term)
hot glue gun
pencil
elastic (mine is 1/8 inch wide...ish) and/or alligator clips 

what you do:
first, decide what shape you want to cut out, and trace it with a pencil.  i did a few circles and a few hearts in different sizes, and then i'd decided to get a little crazy and did a little "e". :)

next, carefully glue the pieces together.  i think it's best to have two layers, but it probably just depends on the quality of felt you end up with.  oh, and don't go too crazy with the glue.  if you're going to add stitching, it's harder to stitch through the portions that have been glued, so plan accordingly. 

then, if you want to add a little extra pizzaz, you can stitch around the edges with the embroidery thread.  i chose a lilac purple, because that's what i had left in my craft drawer, and surprisingly, it turned out pretty great! 

lastly, carefully glue the alligator clip to the back of the felt cut out. or, if you're using elastic, space out your pieces and glue them on accordingly.  i added an extra piece of felt on the back to smooth out the portion that would be on baby girl's head. 


oh, the actual last step is really putting the bow on the babe and snapping a bazillion and one photos so you can overshare on instagram :) 

pretty sure this is going to be my new favorite holiday tradition.  
watch out president's day....it's about to get cray. 


Tuesday, April 9, 2013

welcome to our entryway

i finally decorated our apartment entry way.
4 months isn't too long to wait is it?
 
 
i found 4 matching frames at goodwill,
spray painted them with white, matte paint
and filled the frames with cute fabric!
easy as pie.
 
p.s. hobby lobby sells patterned burlap.
shut the front door.
pretty lifechanging find if i do say so myself.
 
do you have any fun and easy home projects to share?


Wednesday, March 20, 2013

o how pinteresting: easter eggs

i love easter.
easter egg hunts,
baking bunny shaped carrot cake,
eating honey glazed ham and mashed potatoes,
and painting ceramic easter eggs
are all traditions that i love.
 
have you ever painted ceramic eggs?
i think ceramic is the way to go...they never rot! :)
my nana painted ceramic eggs years and years ago and we still have them today.
it's such a fantastic memory to see them each easter season.
 
 
and incase you're feeling glitzy...
 
and i just adore this watercolor version...
 
or, if you're a washi enthusiast like me...
 
what is your favorite easter craft?
 

Tuesday, November 27, 2012

o christmas tree

this project is the perfect combination of my two favorite things:
my favorite christmas decoration: christmas trees
my favorite christmas song: o holy night

my dad built the base, and i painted the letters.
raider helped a little too.
[inspired by this pin]

what christmas project pins have you recreated this season?

Tuesday, November 20, 2012

how to make a headboard

i would like to introduce you to my dream bed:
 everything about it is lovely, with the exception of it's price tag.
somehow, bub-hub allowed me to convince him that we could do this ourselves. for way less.
after i convinced him, and gave myself a pep talk
we headed off to lowes for our supplies.
 
 a level
measuring tape
wood stain
(we used 2 cans of spray-stain)
3 1in x 6 in x 6 ft boards
4 1 in x 8 in x 6 ft boards
(precut from your local hardware store)
14 2 inch dry wall screws
electric screwdriver
 
a few tips:
tip #1 - measure the width of the boards yourself.
for example, the 6 inch wide boards were actually 5.25 inches wide and the 8 inch wide boards were actually 7.4 inches across.
tip #2 - you can have boards cut for you at the store.  if you only want your boards to be 5 feet long, or if you need a 10 foot board cut down to 7 feet, they can do it for you! all you have to do is ask.
tip #3 - make sure your electric screwdriver is charged. :)
 
before you head to the store, measure how wide and how tall you want your head board to be.  we have a queen sized bed and so a 6 foot long headboard was perfect.
i also knew i wanted it to be be around 48 inches tall, so we used a combination of boards that was close to it.  the final height was 50 inches.
 
[step 1]
pick out your stain. 
you can go the traditional route and paint it on, or you can spray paint it on.  we chose the spraypaint.
 
[step 2]
prepare your work area.
we laid our boards on packing paper to protect our patio.
 
[step 3]
follow the directions on the stain and apply carefully.
i could hear my dad's voice in my head the entire time...
go with the grain!
i guess you never know which life lessons are going to stick.
whatever you do...go with the grain.
 
[step 4]
let everything dry!
 for me, waiting is the hardest part.
i love seeing the end product.
i knew that i wanted this to be a success and not a disaster,
so i waited 5 hours for everything to dry before moving on to the next step.
 
[step 5]
lay out your boards in the order you want them to hang, and mark place on the wall.
we alternated 6 inch boards and 8 inch boards.
 
[step 6]
initially, we decied to try using 3m velcro strips.
it was working just great, and the boards were holding just fine, but i just couldn't get the vision of boards falling down on me in the middle of the night out of my head.
we inserted 2 dry wall screws, 1 inch from the outside edge in the center of each board. i am definitely sleeping better and am nightmare free.
and easy and simple solution. 
 [step 7]
step back and admire your work.
you did it! :)
 the lamps and yellow pillow are from the always lovely target. i believe the bedding is from target as well. i've had it since high school.the nightstands are simply crates that previously served as wedding props, and were found at a flea market. easy peasey.
 
what i love most about this project is how easy it is to personalize. you can change the stain, the number of boards, the space between the boards, the width of the boards, anything and everything can be adjusted. such a simple project that can make such a big difference in your room.